
There’s no point in explaining my absence; nothing has been as it should for the last 23 months and we all know that. However, I did finally decide to try and get back to keeping this page relevant and posting about the things that have kept me busy during this long stretch seemed fitting.
This page is focused on baking and gardening because that is what I do; I bake and I garden and sometimes, I bake with what I have grown in the garden. Lately though, many days have been spent canning things from the garden; pickles, jams, tomatoes in all forms, vinegar and vegetables. We actually produce enough food in the garden to feed ourselves through the year. There is a real feeling of satisfaction when I peek into the cupboard in search of ingredients and I pull out a jar that is filled with something that I grew and canned myself.
When my husband gave me a pressure canner one Christmas, I was excited; I could finally do more than just tomatoes or pickles! The cupboard is now stuffed full of single serving jars of soup that I made to keep me fed this winter. It may seem like work but when you do the math, it is almost always a lot cheaper than buying cans of soup and it certainly doesn’t contain the preservatives and crap that most cans of soup are full of.
The biggest bargain I have found is to buy bags of dried beans and then can them. A one pound bag of beans will yield four pints of cooked beans once they are canned and you figure it out, a jar ends up costing about 35 cents. By canning them you also have jars of beans that are ready to be added to a dish without having to soak and cook them; a real win-win in my kitchen.

Hummus is a staple in our house and I was not really fond of making it from store bought chick peas. No matter what I did, even using the Vitamix, just did not make it as creamy as I would like. Then I began canning my own chick peas; what a difference in consistency!

Navy and Great Northern beans are interchangeable in recipes if you ask me. Just look at the photo, Navy on the left, Great Northern on the right. The only real difference is size. Either one works in a bowl of soup or as a side dish or straight out of the jar with a spoon… Yes, I’ve done that when I am too lazy to cook although I will heat them up most of the time.

Recently, I made a batch of Cuban Black Bean Soup and having jars of cooked beans ready to go meant that I didn’t have to cook them first. That batch of soup was finished quickly and into jars it went. Now I have a supply of black bean soup and black beans in the cupboard.

The last batch of beans was a half bag of Blackeyed Peas. We had a major infestation of pantry moths over the summer and had to toss out so much dry food that leaving an open bag of beans in the cupboard was a bit of a risk. Besides, if I am really going to eat a bowl of beans for dinner, these will be my first choice. Saute some onions and garlic, drain the beans and add them to the pan with some broth and just let it simmer; bacon or ham can be added too but i generally skip that. Dinner in less than ten minutes.
Since this page really is about gardening, I feel I must take it full circle. Did you know that you can easily grow your own dried beans? Granted it takes some space and patience but most pole beans will produce pods faster than you can find them on the vines. Every year I plant a variety of green beans called Cherokee Trail of Tears. The vines can grow 15 long and they produce tons of green pods. When young, they are some of the tastiest green beans and we always process a bunch, vacuum seal and freeze them for use over the winter but we have also found that it is just as easy to let some of them go to seed. If you let the pods mature and dry on the vine, you will be able to harvest them and then shuck the beans. This particular variety produces black beans and we have done this a few times. The beans are small but tasty and we have enjoyed them in soup and chili. If you grow your own, do be certain the mature beans are edible, some such as Hyacinth beans can be poisonous.

Now get out there and plant some beans!


 It has been a while since I have had the time to join in with the
  But enough about me, let’s talk about these cookies! What I love most about the book Dorie’s Cookies is the size of the recipes. It may sound like an odd thing to say but large recipes are really inconvenient in my kitchen. My oven is so small that I cannot put anything larger than 15 inches in it; 15 inches wide or 15 inches deep. This means that most standard sized cookie sheets will not fit and that leaves me with few options. What does fit is quarter sized sheet pans and then, only 2 at a time with about a dozen cookies on each pan. If I make a large number of cookies, I can spend an hour or more just baking them. This book eliminates that problem since most of the recipes are so small that I find I can usually get them baked in only two batches.
 The bottom line, buy the book and make the cookies, seriously, you won’t regret it. And if you are wondering, we never publish the recipes out of respect for the author, so you will need to buy or borrow
 The fact that they make their own charcoal still impresses me. These are ricks of maple wood that will be burned to make the charcoal which will filter the whiskey.
 Because they use fire, I am assuming they needed fire trucks at some point.
 Neither looks as if it gets a workout these days.
 The source of the spring water used to make the whiskey.
 Deep within this rocky cave is where the water comes out and is piped into the distillery to use in the production of the whiskey.
 Good words to live by…
 If you take the tour, be prepared to do a lot of walking.
 If I could have, I would have wandered all around the property taking photos.
 As much as this is a production facility, they really have worked to maintain the property so that it resembles what it was at the start. The black soot on the building is actually a result of the brewing process; called whiskey fungus, it is a natural occurrence near distilleries and you can read about it
  After walking through several buildings, we went to the barrel house and on to the tasting room. Depending on which tour you take, you can end it with a whiskey tasting or you can even take a dry tour but none of the tours are free.
 We took the $20 tour which means we ended in a tasting room with 5 samples of whiskey which was multi-barrel aged. We were given samples of Gentleman Jack, Old Number 7, 100% Rye, Tennessee Honey and Tennessee Fire. And by taste, I truly mean a little taste; look closely at the bottom of the cups, that is all they give you, roughly a teaspoon and a half. In my case, that was more than I needed to know that I do not have the ability to drink whiskey!
 Our tour guide was also our tasting guide. He led us through the process of tasting and pointed the qualities and flavors of the different whiskies as we sipped each one.
 The tasting rooms were rather dark, it made taking photos a bit of a challenge since I was holding the camera.
 Even so, I could have spent an hour in there playing and catching the light.
 Row after row, seat after seat and all ready for the next taster.
 When you leave the tasting room, you end up in the gift shop, so convenient. We did not buy anything but that wall!
 The entire wall is a series of bottles stacked in rows.
 If I could, I would fill a window space with bottles because I love the way it looks!
 When we finished the tour, we walked over to the square and strolled around. It was a beautiful day and we had a great time.
 It has been a busy summer and even though fall has arrived, things are not slowing down! We have picked a freezer full of vegetables and I have canned more tomatoes than I can count! Here are some photos of the garden to give you an idea of what we have been up to. Above is a lousy photo of one of our ginger lilies in bloom-they are so fragrant!
 Back in May, I brought home 7 tire planters from the Urban Gardening Festival. This one is full of shade loving plants and they have really filled in, now I need to figure out how to keep it alive over the winter-these plants are not cold hardy!
 The other 6 tires look like this and I just replanted them with fall flowers-now they need to fill in. The strawberries have spread like crazy and we are hoping for fruit by the bowl next year. The strawberries have also helped the rhubarb crowns get established and we were able to harvest from each plant.
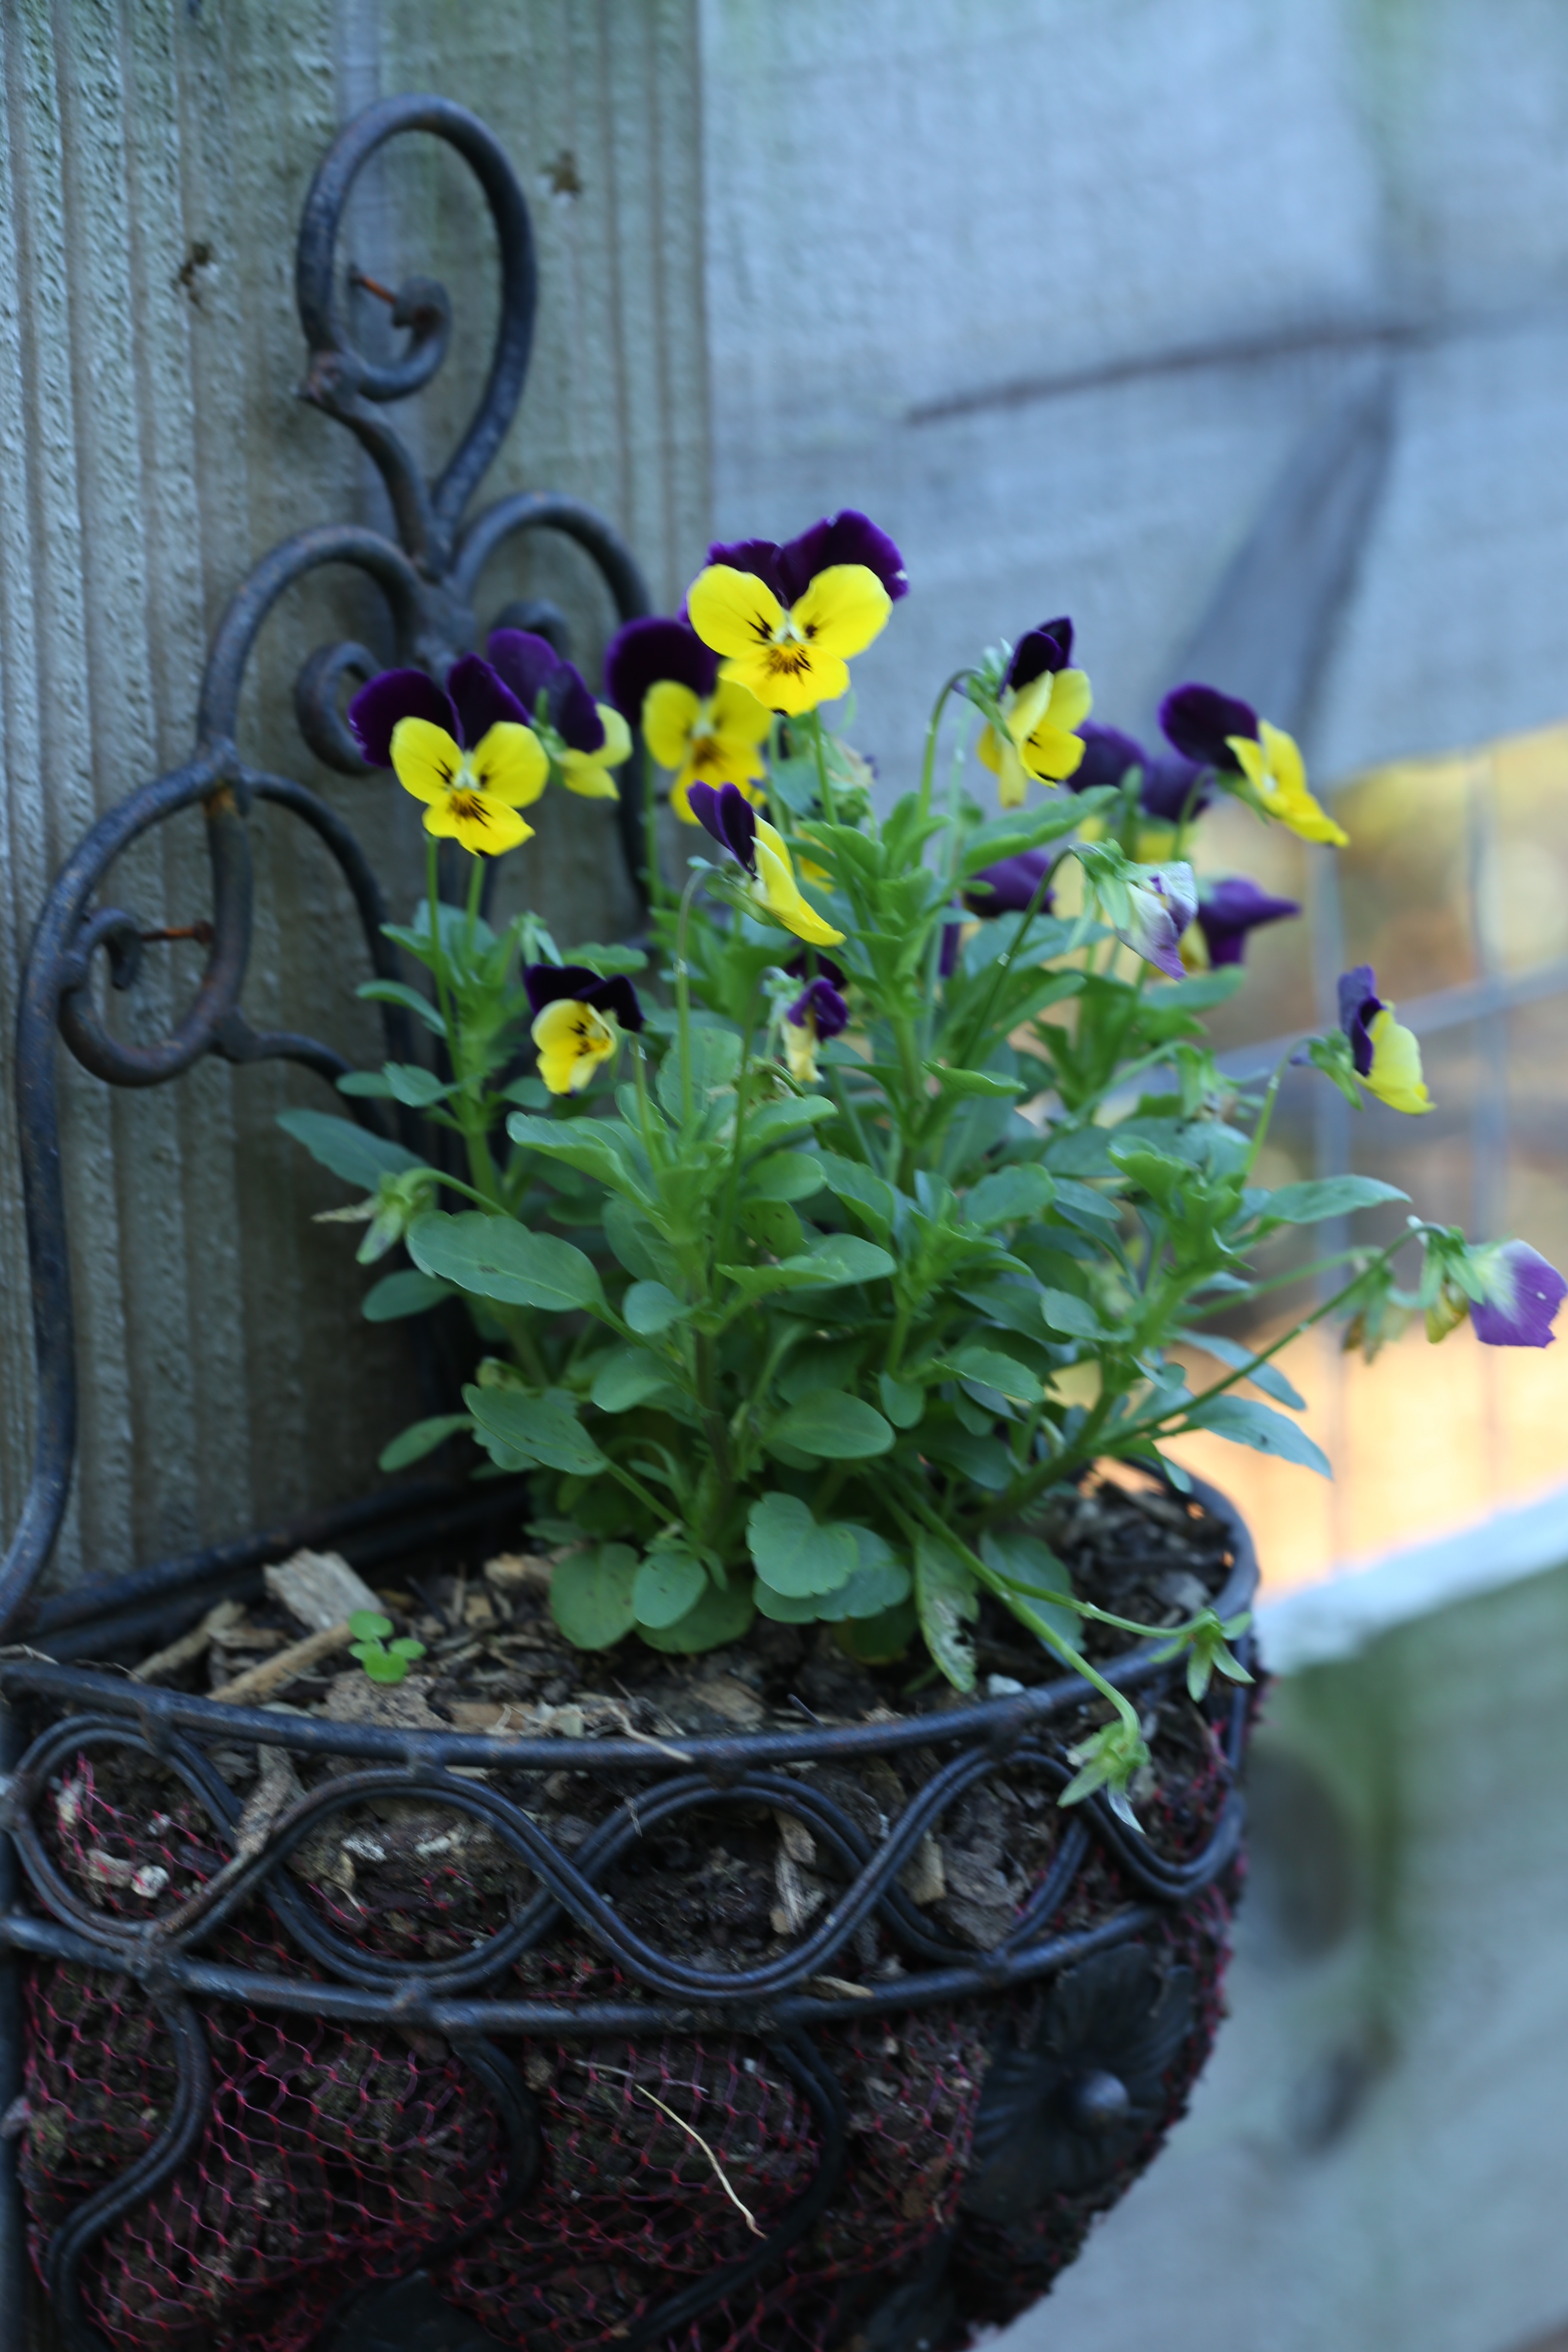 Gate greeters-love the little faces that greet me as I enter the garden.
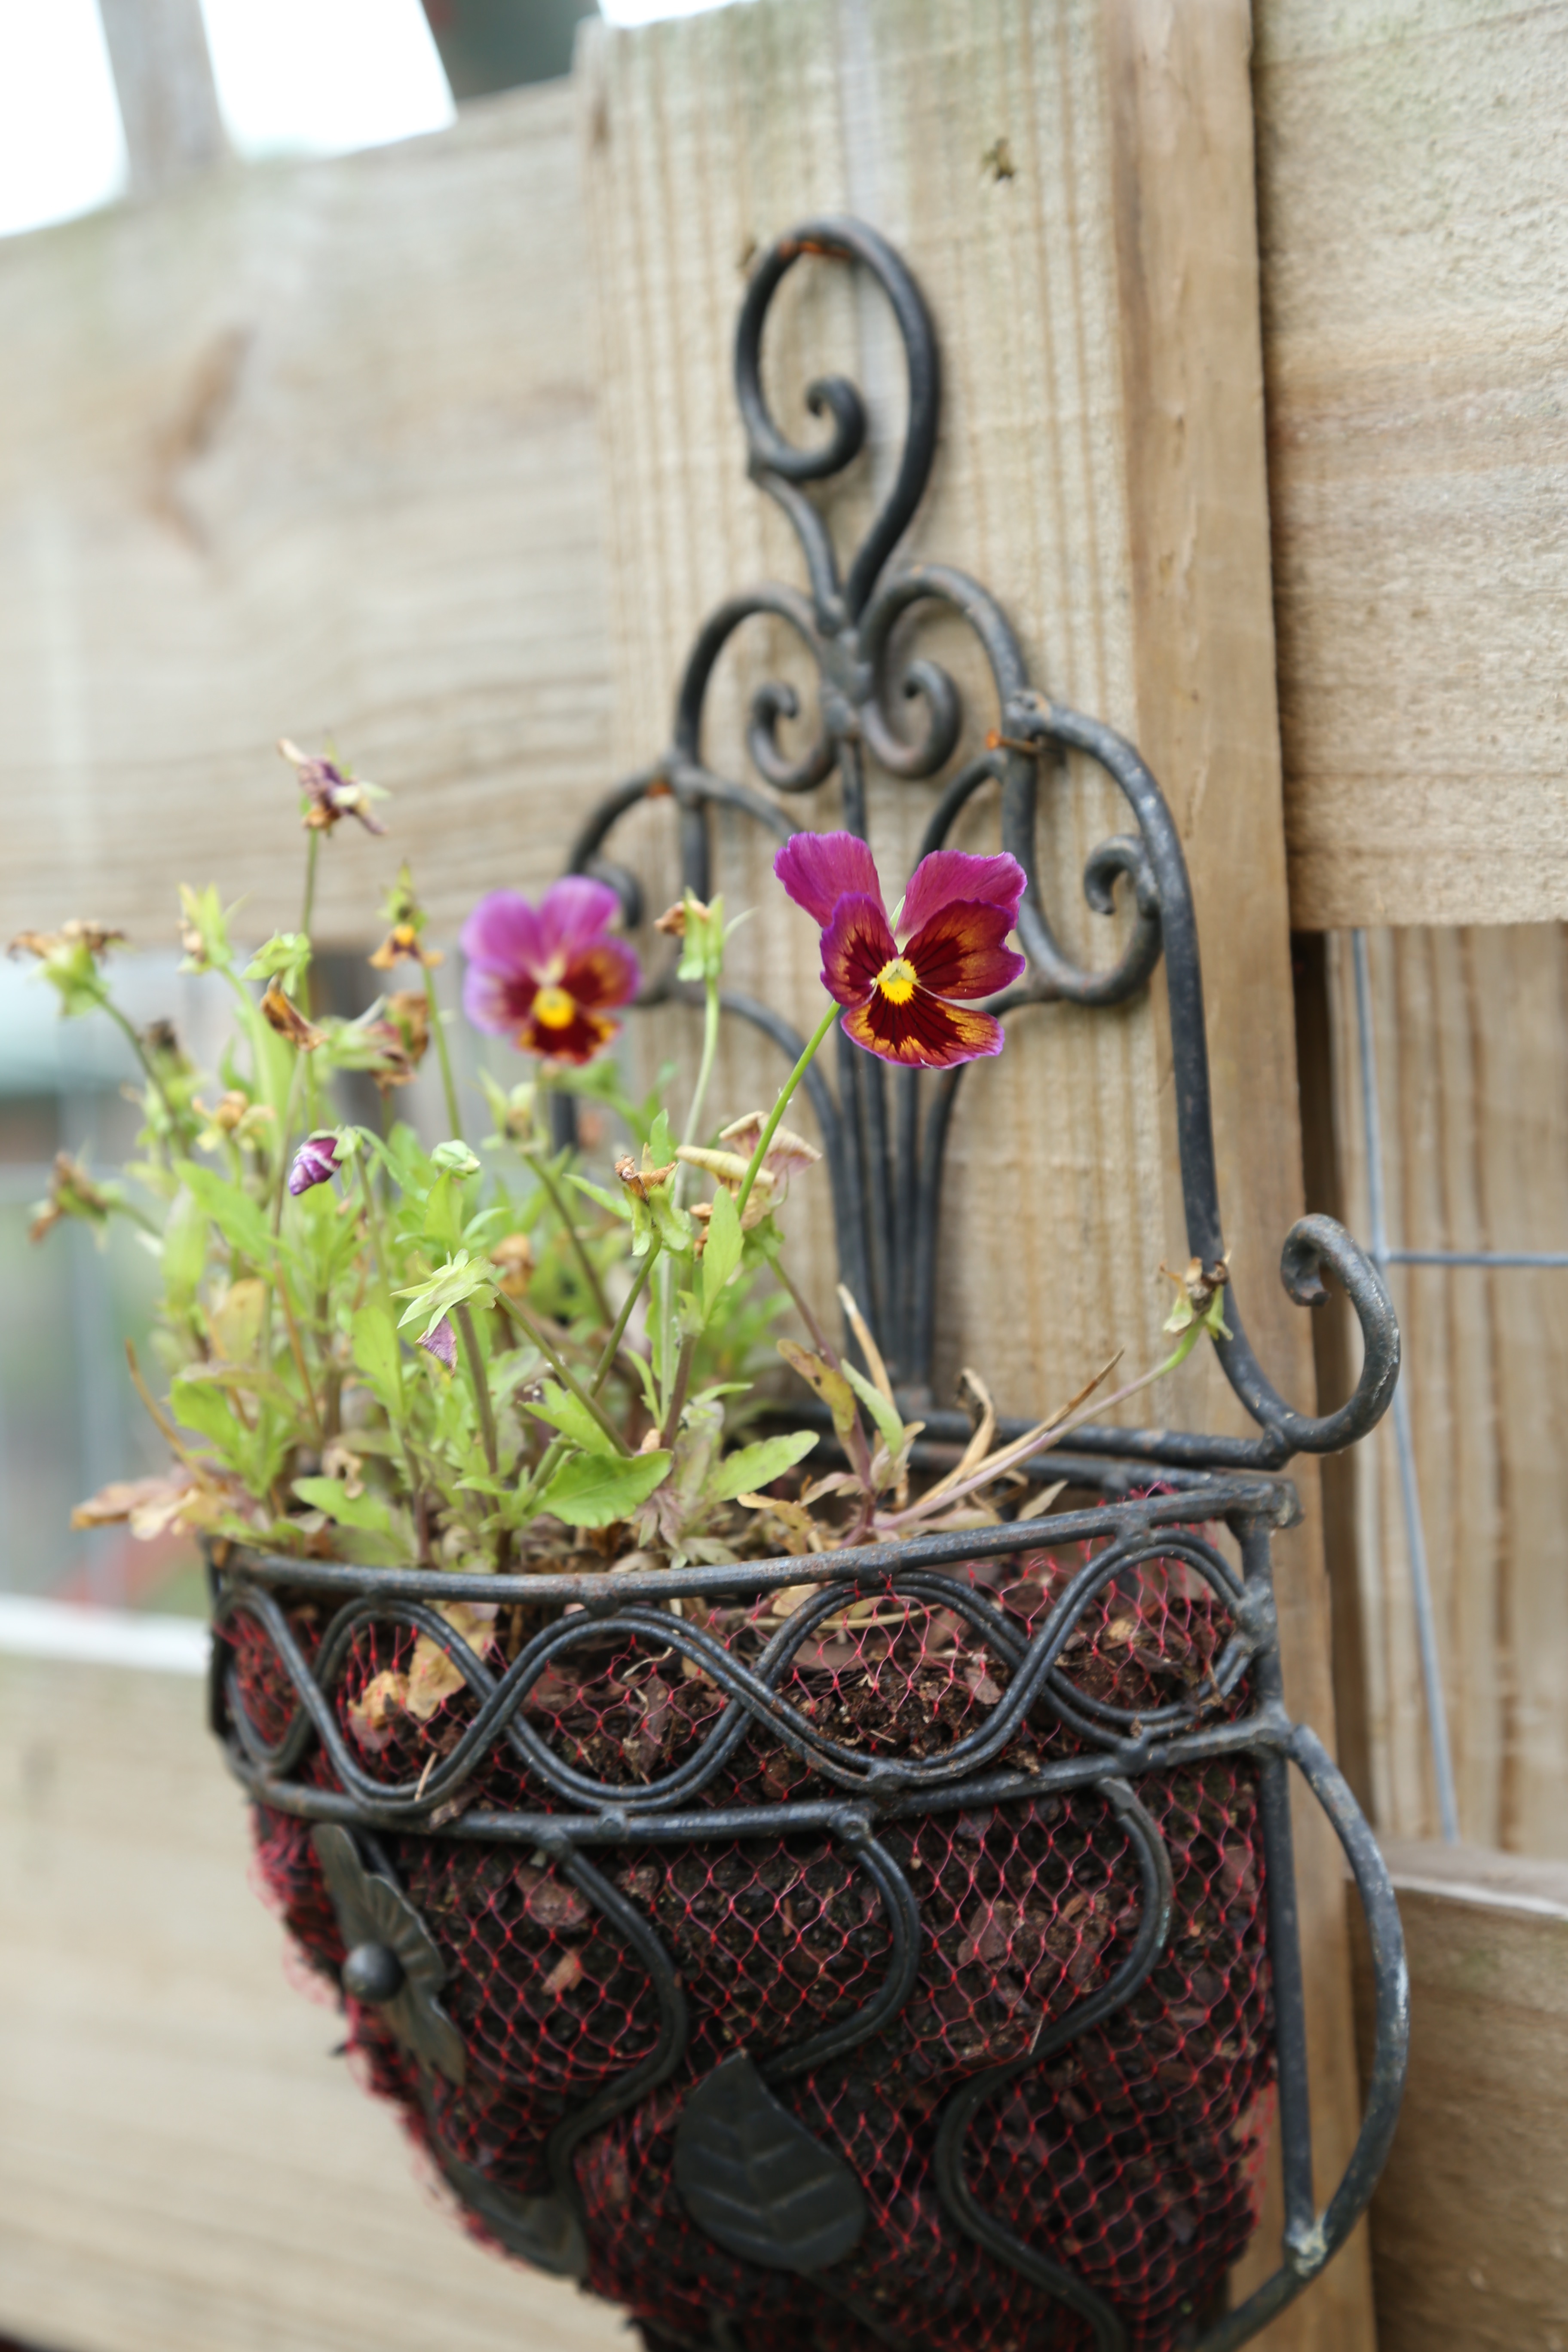
 The chair planters I made this spring have filled in.
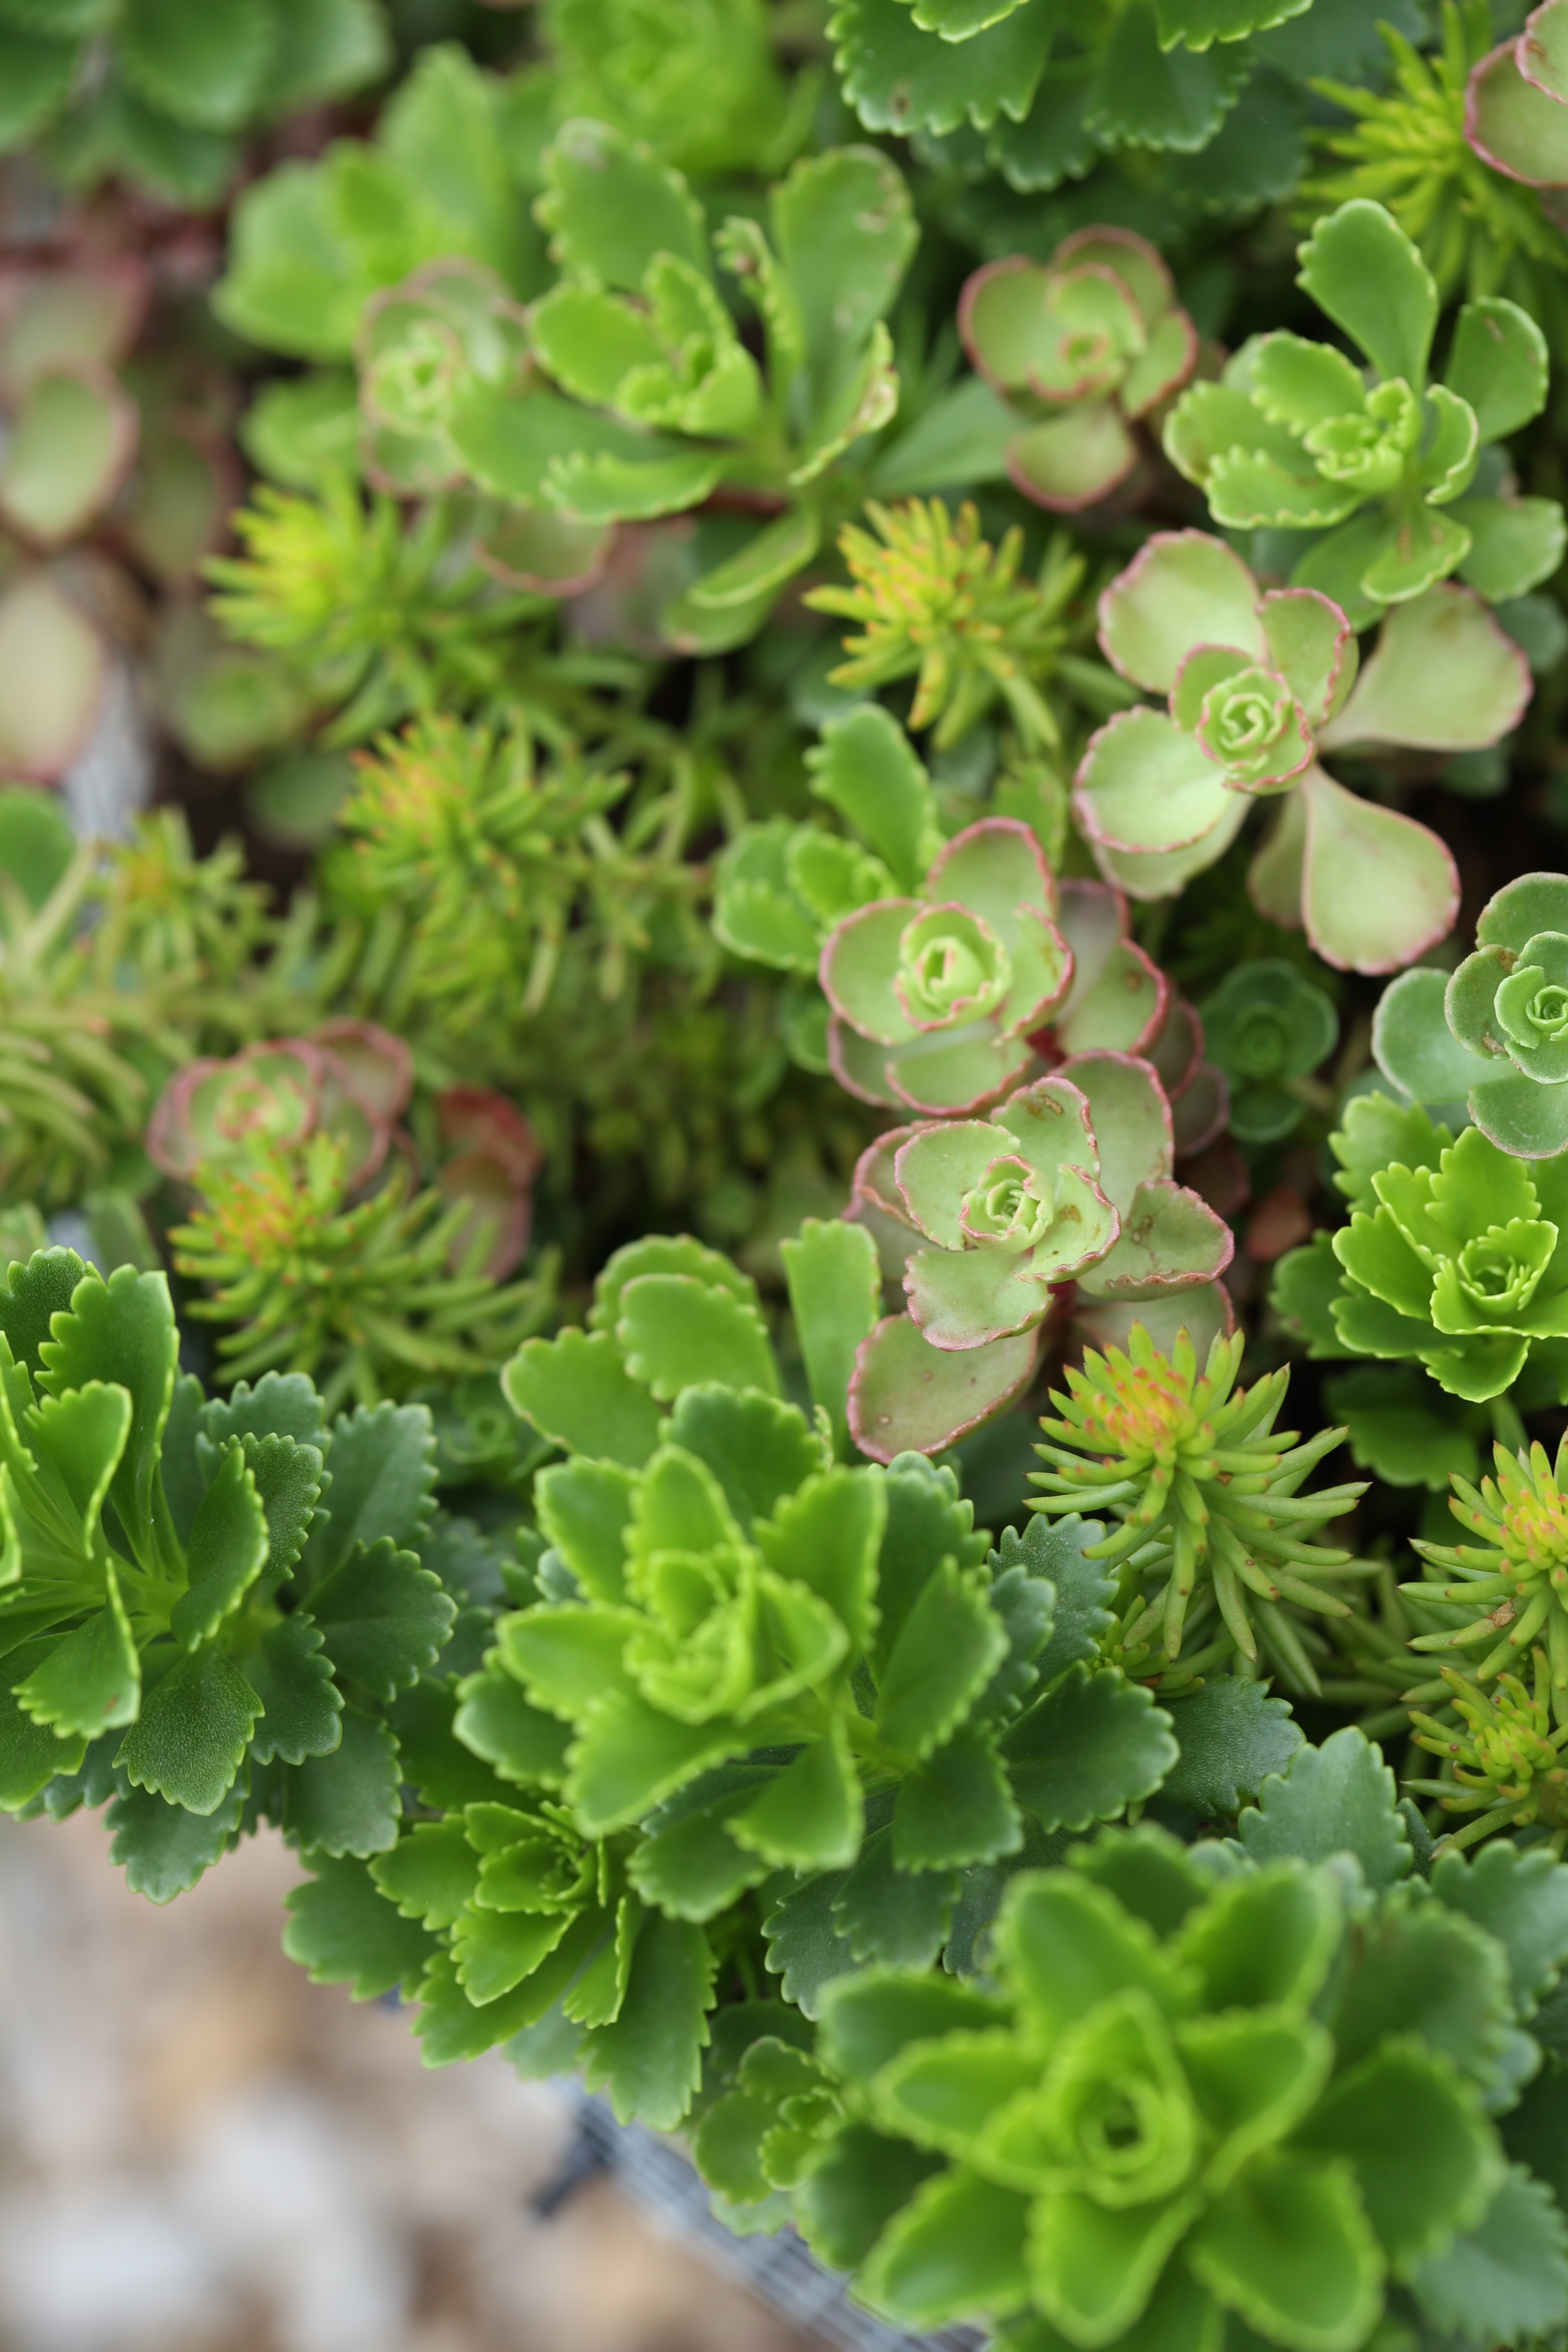
 How can you not love sedum? These plants are so hardy and can survive the neglect they sometimes get in this busy garden.
 Love the colors and textures they add too and bees love the blossoms.
 All of this heat has been just what the peppers needed and they are coming in by the bowl.
 Poblanos
 Sweet banana
 Roselle Hibiscus is one of my favorite plants in the garden. This year I am experimenting with jam. The first batch is in jars but I see room for improvement and will be making more.
 Someone asked me why I planted flowers in the garden. The short answer, I like them! But more importantly, so do pollinators and butterflies. This little skipper is drinking from a noodle bean flower.
 New to us this year is Cardinal Basil. Those flower heads can get as big as a softball and the leaves are huge as well. The flavor is an intense, classic sweet basil flavor and it has made its way into a lot of tomato sauce this summer!
 The change of seasons means a change of plants. Extra Dwarf Pak Choy is actually ready to harvest and we have picked some already.
 The last of the canning tomatoes-finally done with it for the year!
 Where ever I go in the garden, they watch us work
 Lady Bird, our only Americauna hen is a little shy in comparison to the others
 The watermelon jungle. First one we picked wasn’t ready and the chickens ended up with a nice treat. This one looks ready to go.
 Glass chicken.
 The bottle tree.
 The flower tower
 Cherokee Trail of Tears beans are one of the best heirloom beans. We let a bunch go to seed so we will have plants next year. We can also dry out the seeds and cook them like other dried beans.
 Finding an egg in the box is something that never gets old.
 We harvested the sweet potatoes and pulled up about 40 pounds from the six plants in the bed. So, there you have it, what we have been up to the last couple of months. Come back and visit soon!
 Rhubarb is not easy to grow in the south. The high heat and humidity make it challenging for this Siberian transplant. Some of the varieties can survive in our area, Nashville zone 7a, such as Victoria, Canada Red, Cherry Red or Valentine, but afternoon shade is the key. Plant the crowns on a Northern slope or in an area that gets shade in the afternoon so that the soil temperatures stay cooler, be sure it gets plenty of water too. In my garden, I have four Victoria crowns growing, the most commonly found variety here in Nashville, and I use large, plastic bread racks to provide shade for the plants during the hottest periods of summer.
 This year, I was surprised at how quickly all of the crowns grew and I was able to harvest some stalks to both make this cake and to freeze for later. One of my favorite cakes to bake is an upside-down cake. Being able to turn a fully decorated cake out of a pan is so much better than having to frost and decorate layers. As beautiful as it is, the stalks made me think of celery-luckily, it didn’t taste like celery!
 This recipe is a work in progress and I am not posting it here but it is based on a Persian Love cake made with pistachios, lemon zest, cardamom and rosewater. To decorate it a little after turning it out of the pan, I sprinkled chopped pistachios and rose petals around the edges. Because this was a large cake, 9″x13″, I took it to a Master Gardener meeting and potluck dinner, I came home with a very small piece; I ate it for breakfast the next day.
 There are so many things to see in the garden, too many to share. This is a glimpse of what is going on now. Enjoy the view!


 Well, it goes without saying, I have neglected this blog lately. As spring approached, things in the garden at home and in the Demonstration Garden got busy, very busy. As we have worked to prepare the Demonstration Garden, a small team of volunteers worked on getting the word out. The result, a chance to tape two segments for a local TV show,

 Every month, our Master Gardener group has a potluck dinner that precedes our meeting. Each member brings a dish to feed about 8-10 people and I always bring cake. My original plan was to make an apple cake to use a few leftover apples, but when I went to the grocery store, pineapples were on sale. My plans quickly changed.
 To make a really good pineapple upside-down cake, you must use a fresh pineapple. While canned fruit will work in a pinch, it just does not have the flavor of a fresh pineapple. If you do not want to mess with cleaning a fresh one, look in the refrigerated section of the produce department in the grocery store. Most stores will stock fresh pineapple that has been peeled and cored, keep in mind that it will also cost at least double the price.
 Use a roasting pan that is 10 inches by 13 inches or use a rectangular cake pan of a similar size as long as the sides are close to two inches high. Grease the pan well and pour in the caramel. Tilt the pan to spread it evenly across the bottom and then layer in the slices in any pattern that suits you. For my cake, I chose rows simply because they would act as a cutting guide for the person who would be slicing the cake and it worked out beautifully.
 When the cake comes out of the oven, it is important that you let it sit for 10 minutes before unmolding it or the fruit will stick to the pan. The caramel is boiling at that point and it needs to cool a bit to form a bond with the fruit and the cake. If you wait too long, you will need to return it to the oven to heat it up again, so this step is not one that you want to lose track of. Set your timer for 10 minutes when you take it from the oven and wait for it! Place a sheet tray or serving platter over the cake and invert it. The cake should release immediately and fall right out onto the platter. Allow it to completely cool off before slicing or the cake will crumble.
 The perfect blend of spice cake and caramelized fruit!
 While your cake cools, let’s get that crown taken care of! Gently pull off the leaves of the crown until you reveal what looks like roots. Believe it or not, they are roots! When you have a nice layer of them that goes all the way around the pointed end, place it in a glass of water.
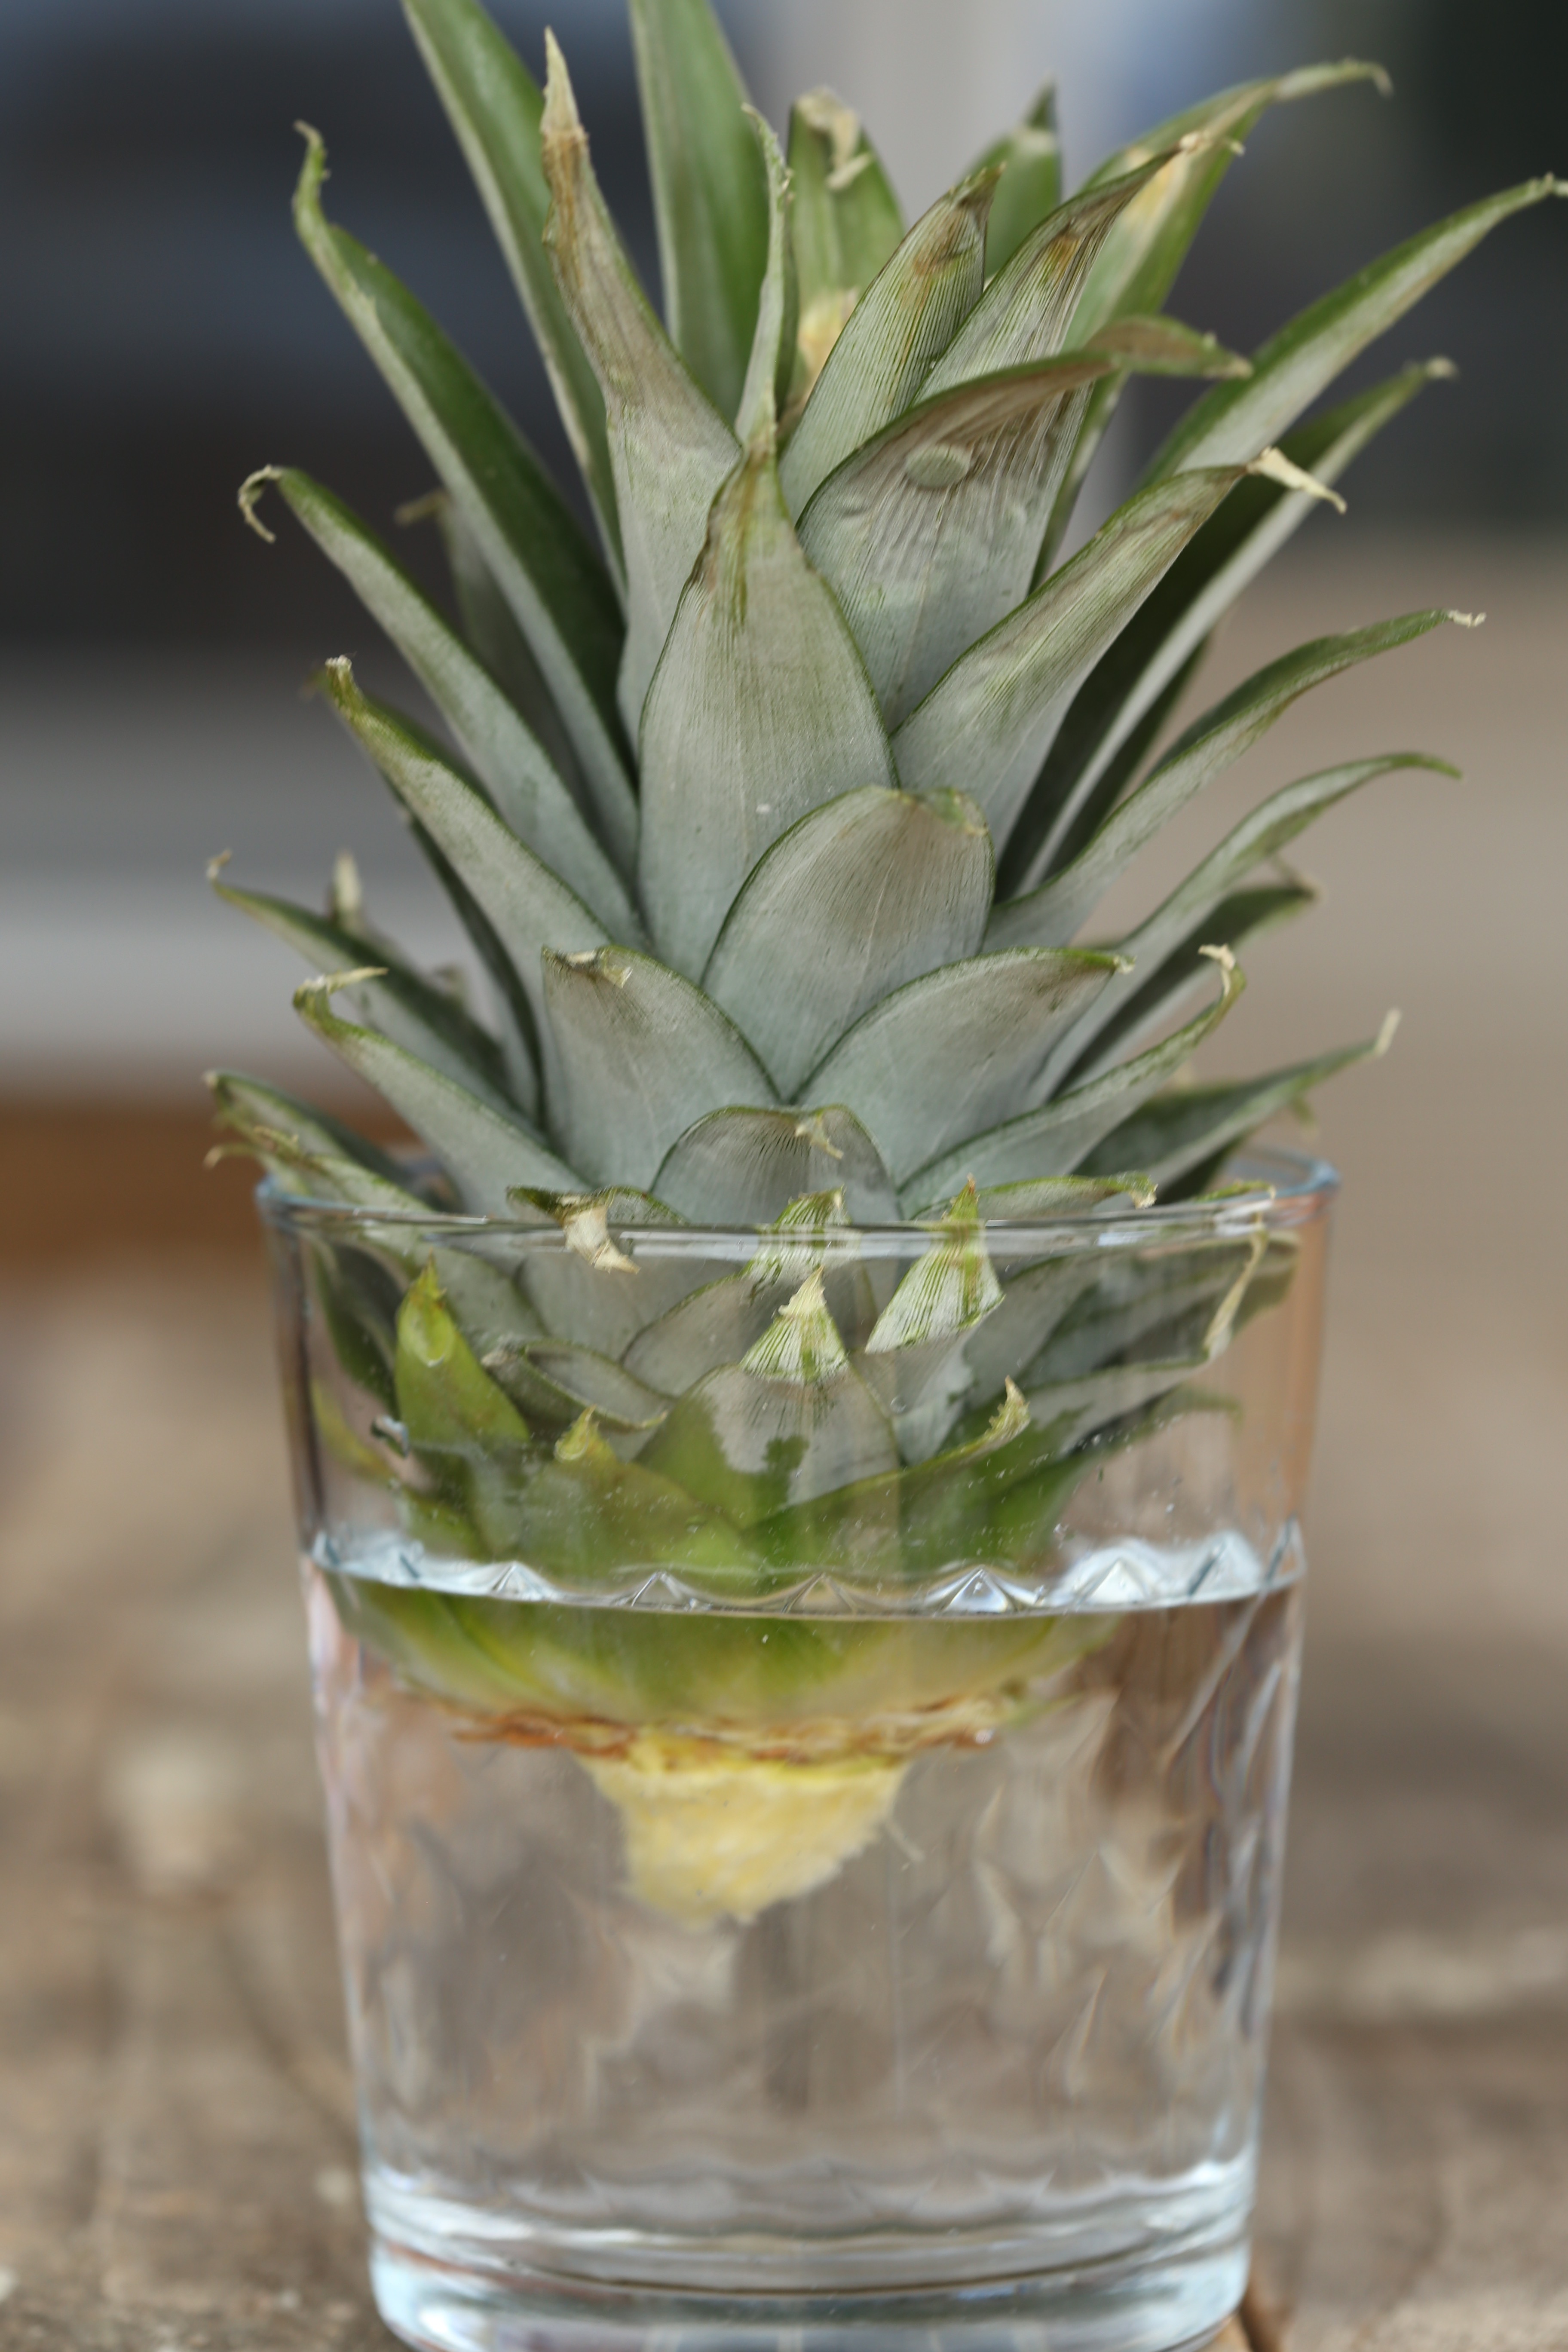 Keep it near a bright window and be sure to change the water frequently so that it does not get moldy or fermented. If all goes well, you will have roots that stretch down into the water and you can plant it in a pot. Use a light soil, one that will not hold water and make sure it is in a warm, sunny spot. It will take a long time to grow a fruit, be patient! For more information, here is a
  To say it has been cold here is an understatement. Yes, I know that plenty of places are much colder and covered in snow, so what! We moved south to escape snow and frigid temperatures and the last two weeks have been brutal here. So rather than dwell on the cold or debate who has it worse and all that, let’s just look at photos from the fall taken out at the Demonstration Garden in Ellington Ag Center. Before the frost. When it was still warm… Mexican Sage in bloom.
 Love the fuzzy blooms, so do the bees.
 Vietnamese coriander in bloom. So delicate and tiny.
 The swamp monster that tried to eat the garden-Swamp sunflowers in bloom
 The swamp sunflowers were about 8 feet tall and they are spreading out. Don’t they look beautiful with the Burning Bushes?
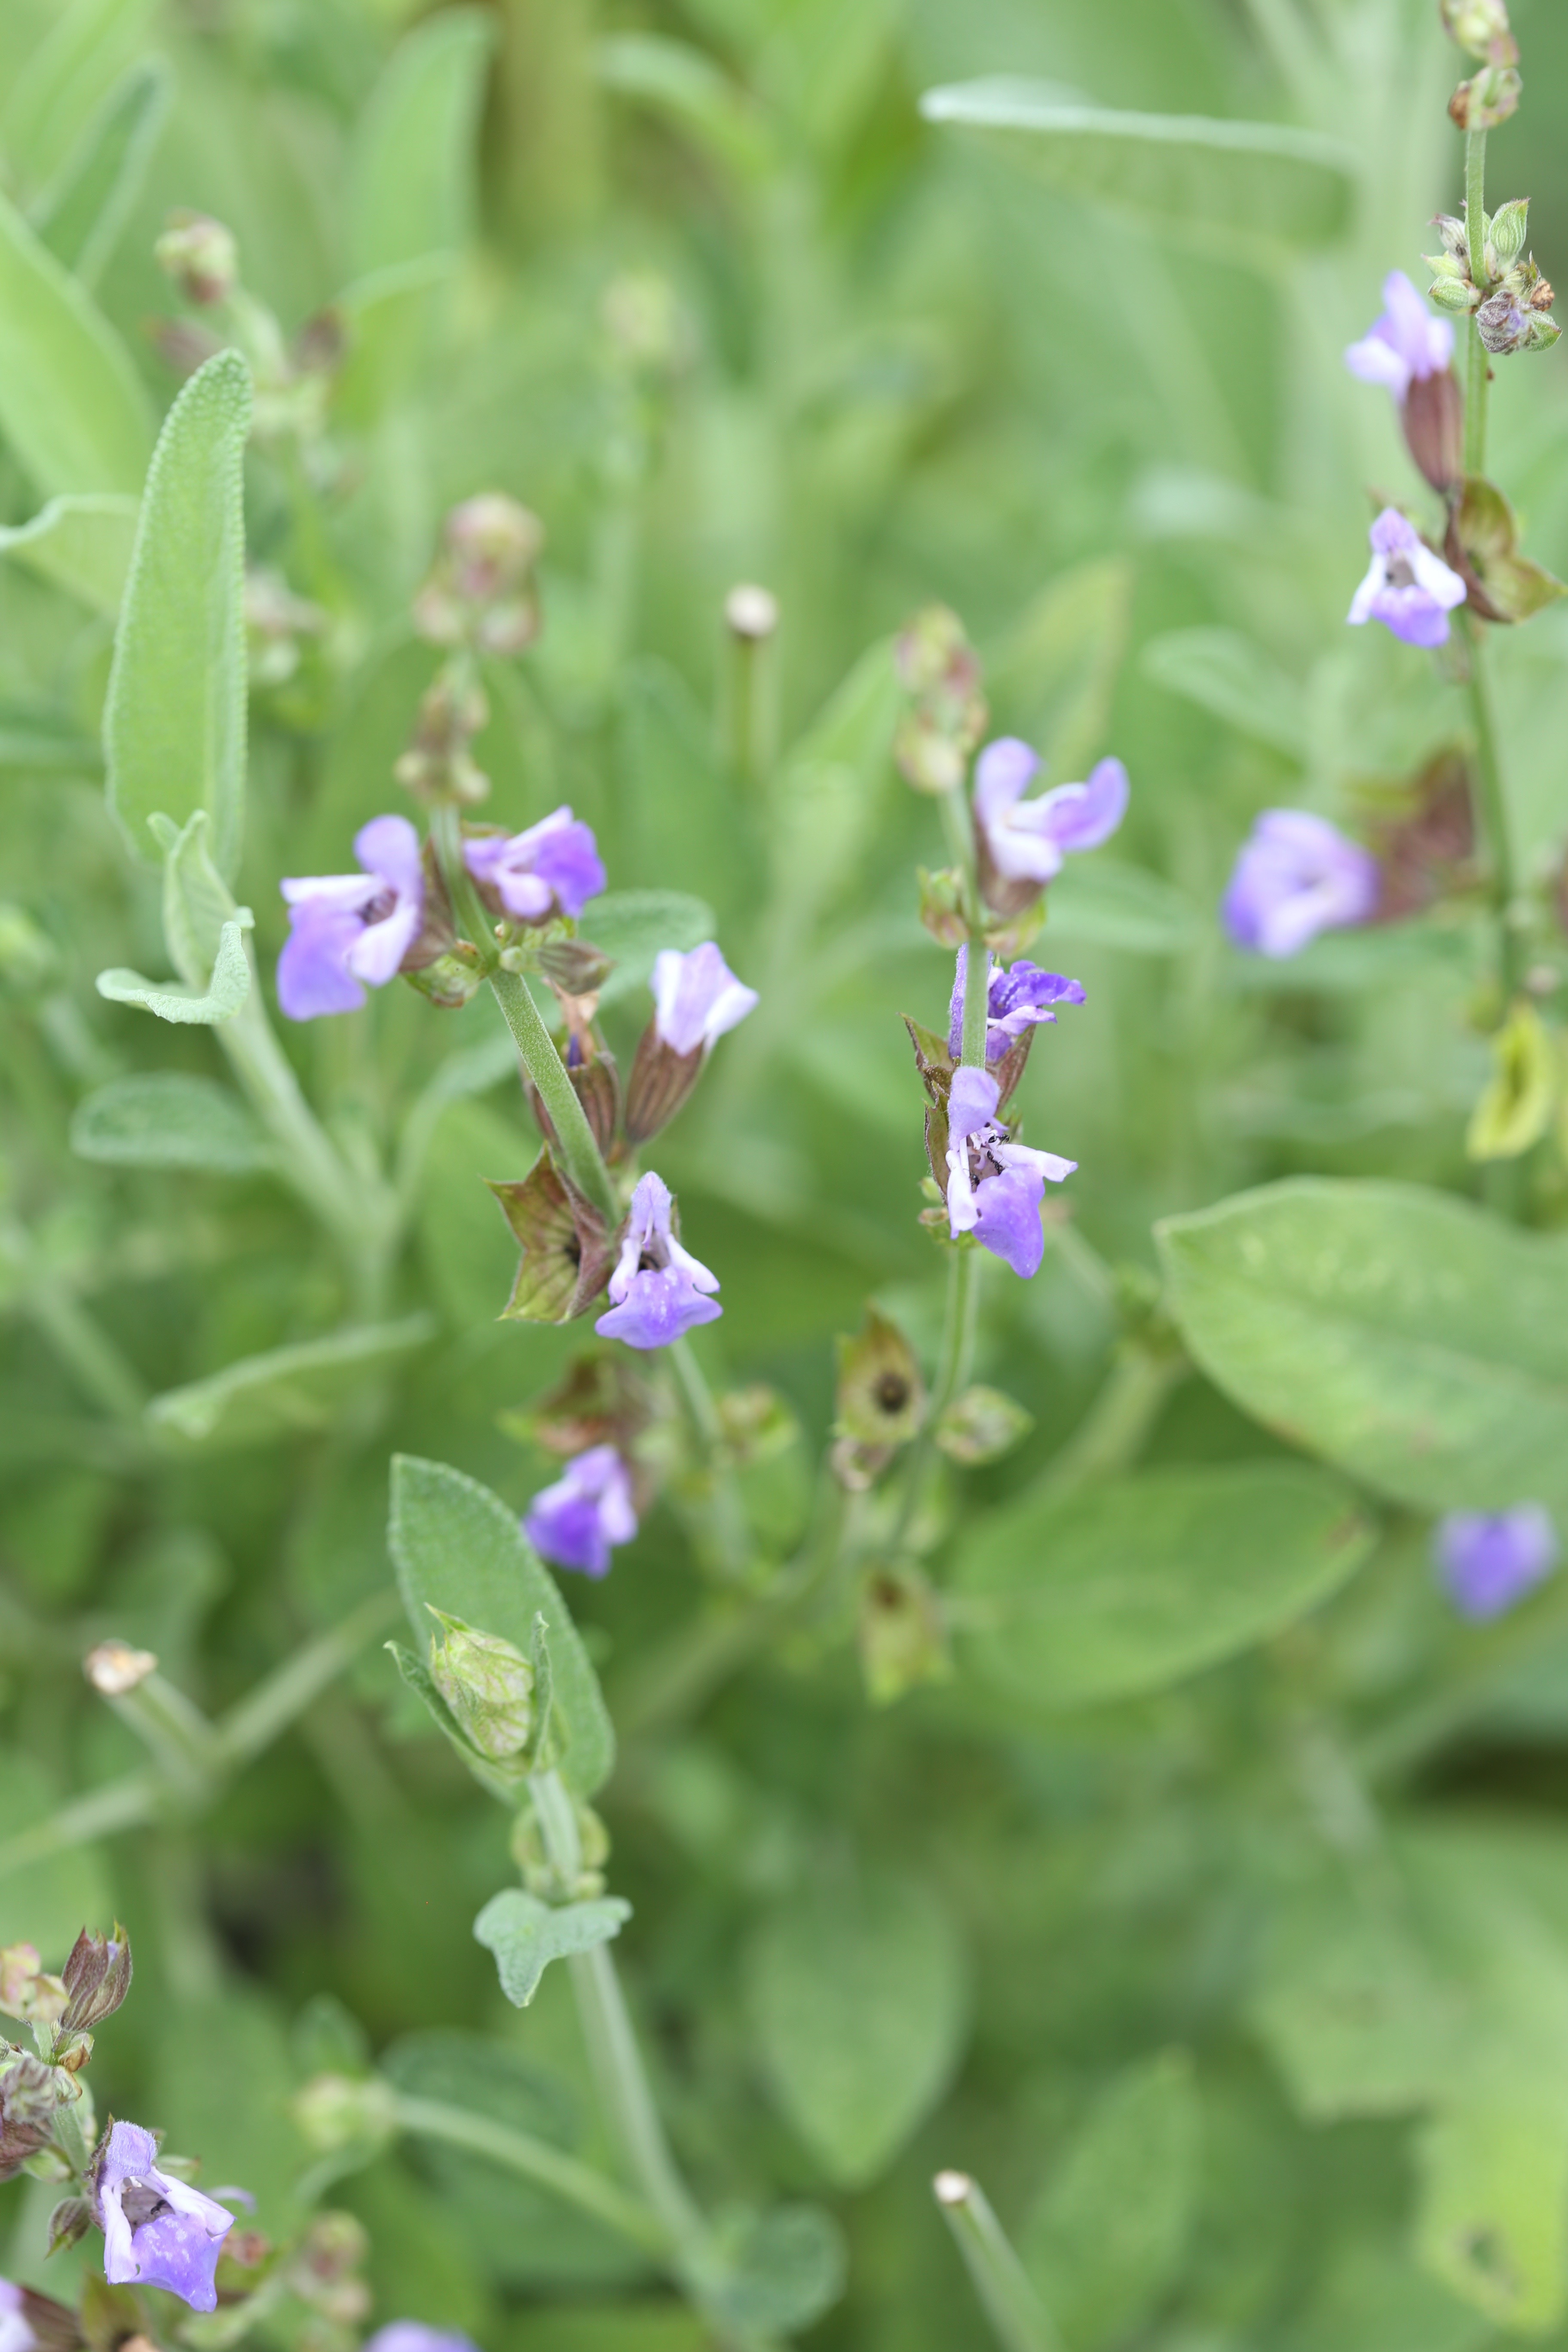
 Want to plant something that bees and hummingbirds love? Fill your garden with salvias and one of my favorites is Pineapple Sage. The leaves smell like a pineapple lifesaver candy when you rub them and they are edible meaning you can use them as you would most other edible herbs. Honey bees love them and if you have a colony nearby, you might just find enough of them in it to make the whole plant buzz and vibrate. Hummingbirds will visit them too but only if they stay in your area through the fall. Pineapple sages tends to put this show on late in the season and this was taken around the first week of November.
 Just look at those pollen baskets!
 We built this out at the Bee Garden and we are hoping that beneficial insects are nesting here.
 This garden is just full of color and blooms.
 Our climate here allows for tropical plants to grow and thrive during the warmer months but the fruit never has a chance to mature and ripen.
 We can only dream about bananas; these did not make it and were killed by frost shortly after I took the photos but while it was blooming, the wasps and bees loved the nectar and pollen.